What to Do When Brake Performance Suffers in Winter?
When winter temperatures plummet, many drivers notice their vehicle feels slower to respond when braking, and stopping distances become longer. It can seem like the brake pads have "failed," creating a serious safety risk. In reality, reduced brake effectiveness in winter is common, usually linked to the cold's effect on the braking system and normal component wear. Knowing how to handle this scientifically can effectively avoid risks and keep you safe during winter driving.
1. Core Causes
First, it's important to understand why braking performance drops in winter. Low temperatures can harden the materials in both brake pads and rotors, lowering their friction coefficient and naturally reducing stopping power. Additionally, wet and icy roads not only increase stopping distances but can also leave a film of water between the pad and rotor, causing a "hydroplaning" effect that further compromises braking. Worn brake pads, oil-contaminated surfaces, or brake fluid thickened by the cold can also worsen the problem.
2. Daily Inspection and Maintenance
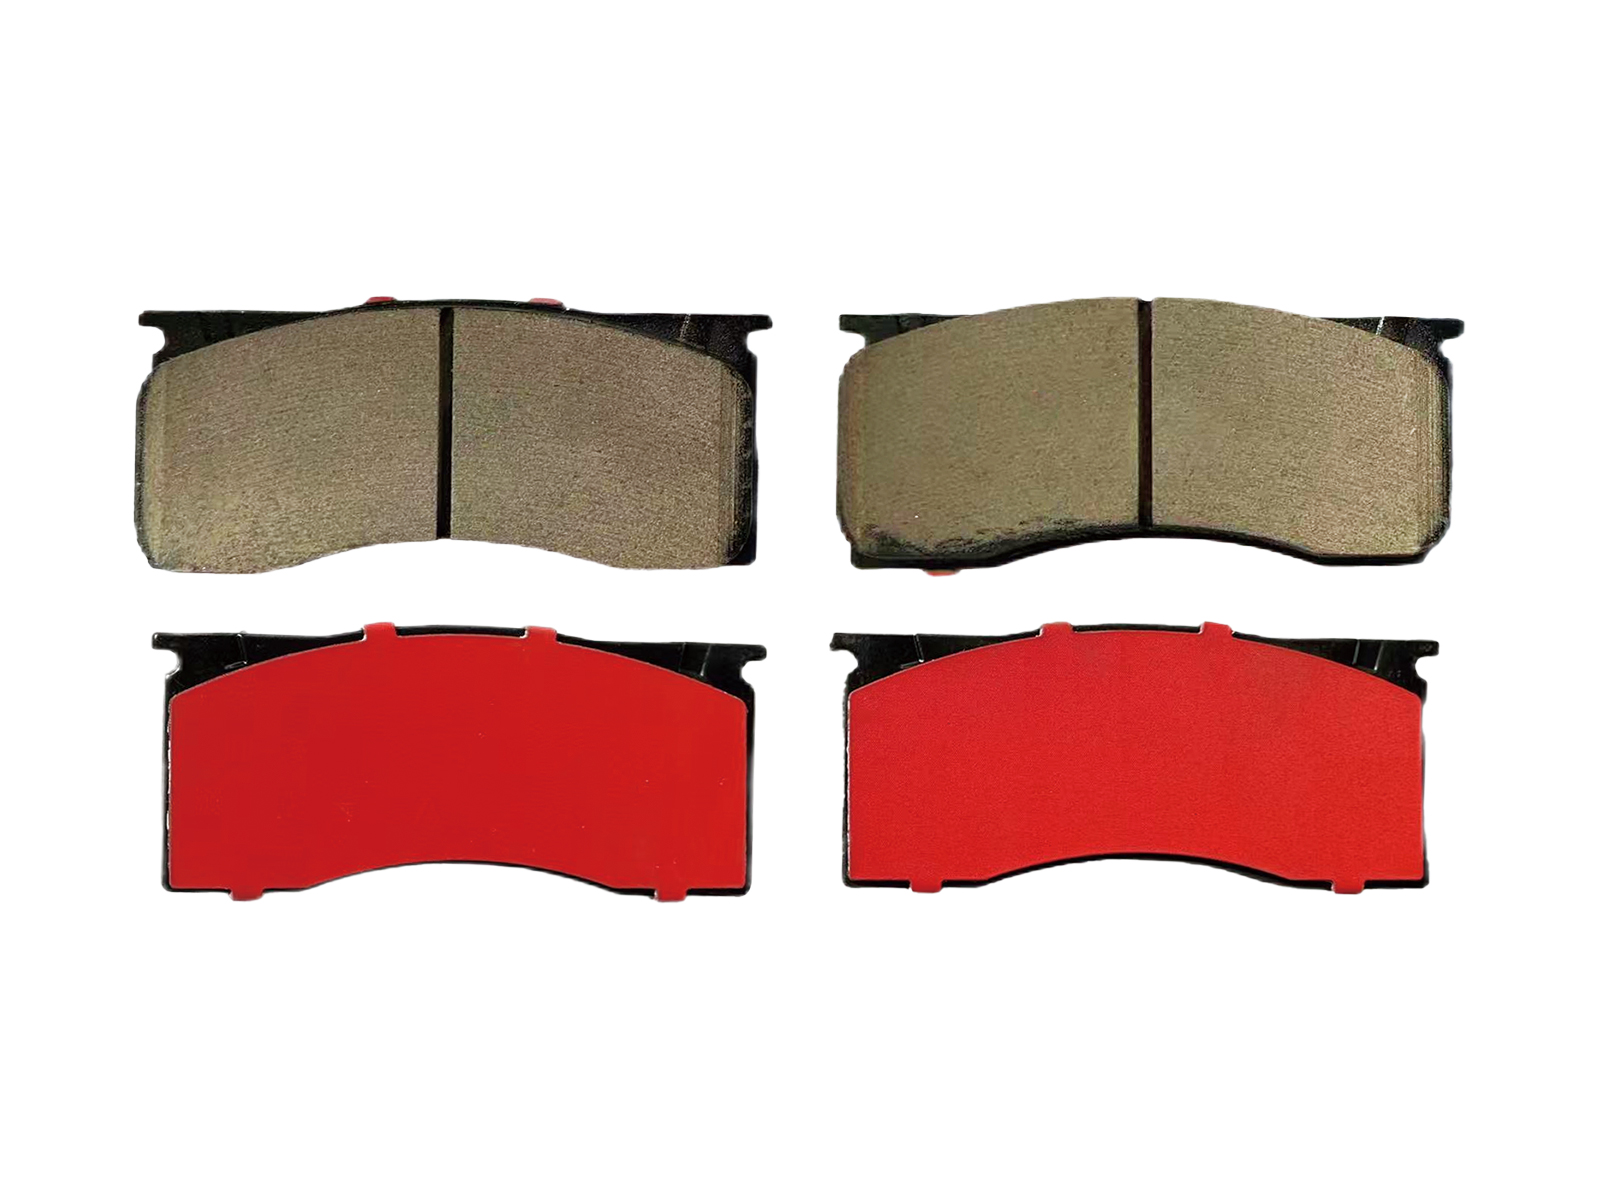
To address these issues, start with regular inspection and maintenance of your brake system. Check your brake pad thickness periodically. If it's less than 1/8 inch (3 mm), replace them immediately to avoid brake failure due to excessive wear. Also, clean any debris or oil from the pad and rotor surfaces using a professional brake cleaner to restore friction performance. Don't overlook brake fluid—use a fluid with good low-temperature flow characteristics for winter, and replace it every 2 years or 40,000 miles to prevent thickening from affecting brake pressure transmission.
3. Develop Proper Driving Habits
Developing proper winter driving habits can also help compensate for reduced braking performance. After starting your drive, don't accelerate to highway speeds immediately. Drive slowly for 3-5 minutes to allow the pads and rotors to gradually warm up and restore their normal friction coefficient. Maintain a safe following distance—at least double what you'd allow in dry conditions—to avoid the need for panic stops. On icy or snow-covered roads, use engine braking (downshifting) instead of your foot brake whenever possible to reduce pad and rotor friction and help prevent wheel lock-up.
4. Pay Attention to Braking Technique
Also, be mindful of braking techniques in specific situations. If you notice the brake pedal feeling soft or having increased travel while driving, it could indicate water in the brake fluid or a leak. Stop immediately and have it checked—do not continue driving. If you hear unusual noises from the brakes or the vehicle pulls to one side when braking, it likely indicates uneven wear or a stuck component, and you should have it inspected by a repair shop. When parking in winter, choose a garage if possible to avoid exposing the brake system to extreme cold for long periods, which can accelerate component aging.
Safe winter driving depends on a reliable braking system. Reduced brake pad performance is not something to ignore, but it's also no reason to panic. With regular inspections, good maintenance, and proper driving habits, you can effectively improve braking performance. If you're unsure how to diagnose the problem yourself, visit a professional repair shop for a thorough check-up. Keep your vehicle in top condition to handle winter's challenging roads and build a strong safety foundation for every trip.